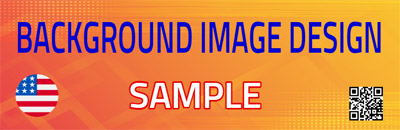
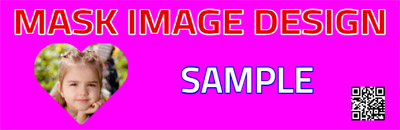
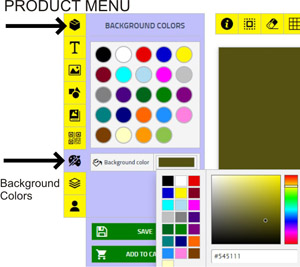
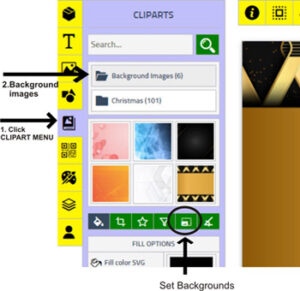
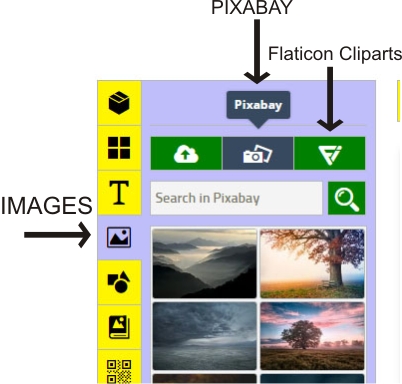
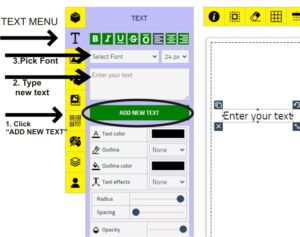
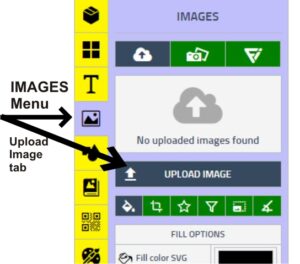
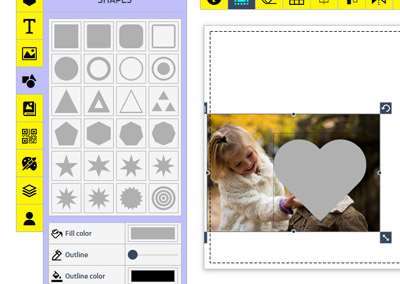
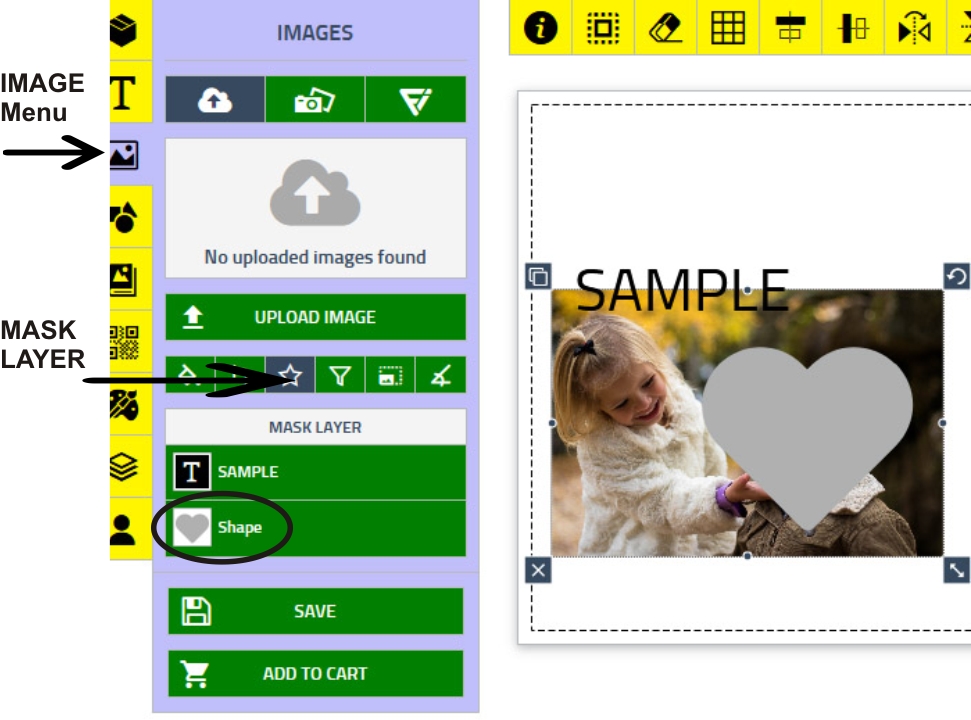
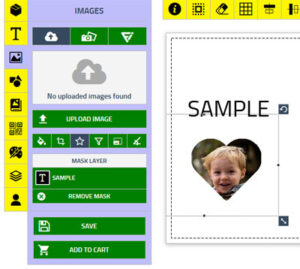
High resolution design takes up to 1 minute to “SAVE” or “Add to Cart”“SAVE” design requires account login, or register new account. “ADD TO CART” doesn’t reguire account login. Quick Tips How to set background colors ? Basic colors at product page. (pre defined ones) “Background Colors” menu tab includes Color Picker (unlimited colors) How to set background images/Pattern, or your image file ?High resolution background images are located at “CLIPART” menu and “Background Images” TabFree Pixabay images can be downloaded at “IMAGES” Menu and “Pixabay” TabYou can use your own image file as background (see instruction below)Background images can be resized and stretch to cover the canvas area manually or automatically set and locked by clicking “Set Backgrounds” button How to add text ?Select “T” Text MenuType your text on “Enter your text” BoxPick Font Text Color, Text outline, Text Effects boxes under “ADD NEW TEXT” button. How to upload your photo/image/cliparts ?Select “IMAGES” MenuClick “UPLOAD IMAGE” tab and select file from your PC to uploadAcceptable file formats… jpg, jpeg, png, svgLarge format prints require high resolution images (300 dpi recommended) How to do Mask Layer Image ?Upload an image/photo, and cover the area of the image to mask with shape/text or another image (Heart shape used for sample below)Select “IMAGE” Menu, and click “MASK LAYER” tabClick image/Photo to be Masked and target elements will show up on “MASK LAYER” Box.Choose and click Cover element (Heart Shape on sample below) How to make elements lighter, transparent (see thru) ?Each menu inludes “Opacity” optionAdjust darkness/lightness using slider bar.Opacity works for multi layer elements.